This bread was supposed to go to a friend of a friend in NYC, but COVID-19 has me avoiding post offices for the time being, so I ate it myself! But don’t worry, I washed my hands, like, real good.
This recipe assumes you have an active sourdough starter (the flour ratio isn’t that important) with 100% hydration. If you don’t, do some googling! It’s super easy to start one, I just haven’t written an article on it yet.
Great avocado toast. It’s spicy and cheesy and avocado-y, like a taco on a bread. 🥑🥑🥑🥑/5
Jalapeño Cheddar Beer Sourdough
(makes two large round loaves, takes about 22hrs [or up to 30 hours with optional refrigeration])
Levain:
• 125g bread flour
• 125g whole wheat flour
• 250g warm water
• 1.5T sourdough starter
Dough:
• 800g bread flour
• 2¼C-2½C beer, warm (experiment! I used a citrus ale, but go to town)
• 16g coarse sea salt
• 400g levain
• 180g cubed cheese (I used extra sharp cheddar, you can probably do any melty cheese)
• 1 large jalapeño (seeds and all)
1. The night before you plan to bake: Mix the ingredients listed under the Levain section in a medium bowl, cover, and let sit overnight (8-12 hours) at a warm room temperature.
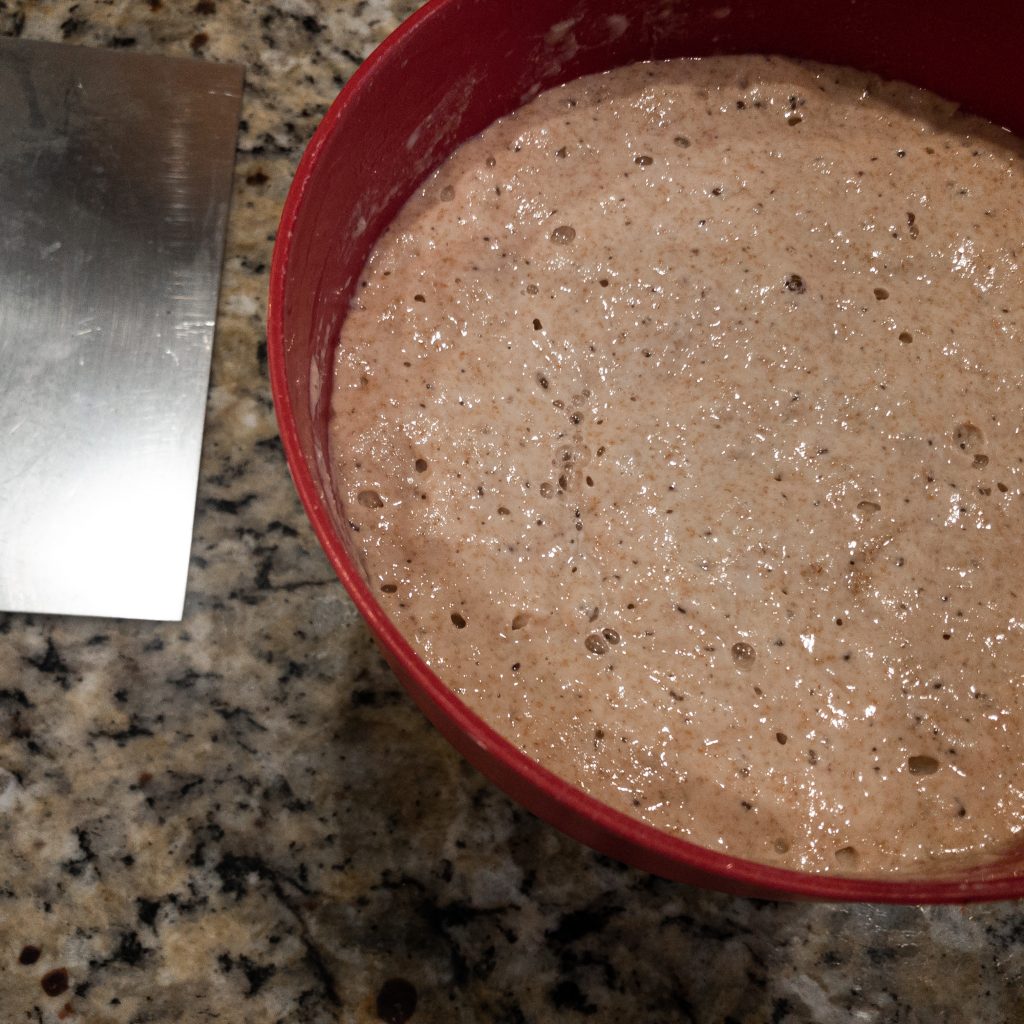
2. The next morning: Take a spoonful of the levain and drop it in a bowl of warm water. If it floats, you’re good to start. If not, you’ll need to wait a little longer.
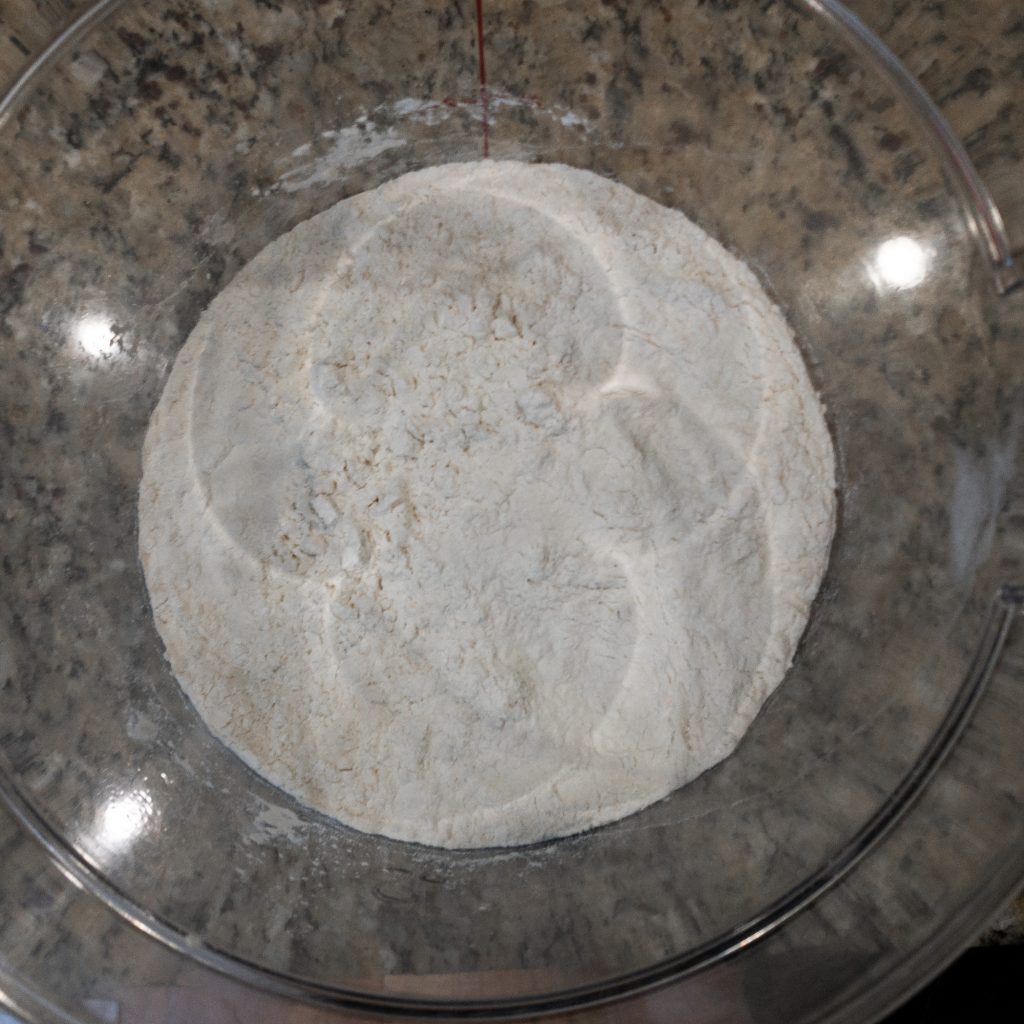
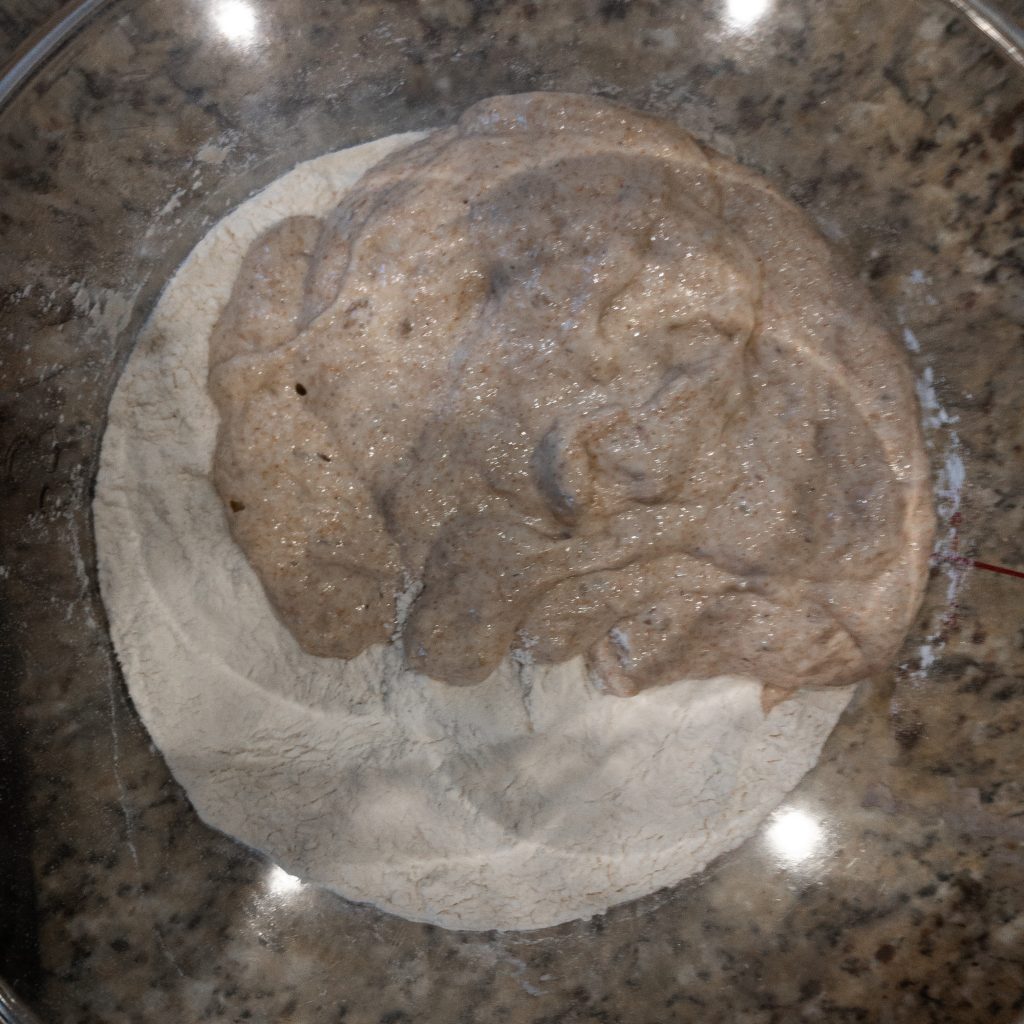
3. In a large container (I use a 6qt Cambro tub. I recommend it highly if you’re looking to make a lot of sourdough), combine the 400g levain with the 800g flour and beer, just until incorporated. You don’t want to start developing a gluten network, just combine all the ingredients until there’s no dry flour. Let it sit, covered, for an hour. This will allow the flour to absorb the beer and relax into a cohesive mass of dough and start the creation of the gluten.

4. During that hour, chop up the cheese into ¼”-½” cubes and finely dice the jalapeño.
5. After the hour, sprinkle the salt over the top of the dough. Wet a hand, and reach down and grab a chunk of dough. Gently stretch it up and over the bulk of the dough and push it back down. Give the container a quarter turn and do it again, until you’ve gone all the way around and the salt is encased in the dough. I explained that poorly, watch this brief video from the master. Squeeze the dough between your fingers to incorporate the salt. You should feel the dough start to break apart and then recombine. It’s okay if the salt doesn’t all get absorbed, but you’ll feel it start to dissolve. Do another set of stretch and folds (wetting your hand first), then flip the dough so the seams are on the bottom. Let it sit for 30 minutes. This will begin the 4ish-hour bulk fermentation.
6. After 30 minutes, sprinkle the cheese and jalapeño across the top of the dough and perform another set of stretch and folds. It might not distribute fully, but it’ll happen over the next few folds.
7. Give the dough another set of stretch and folds every half an hour for the next two hours (that’ll be about 3 hours total so far). You should notice the dough getting softer, more aerated, and more cohesive during the third hour. Be more gentle with your folds to try to avoid degassing too much. Don’t do any folds for the last hour of bulk fermentation. Just let it ride.
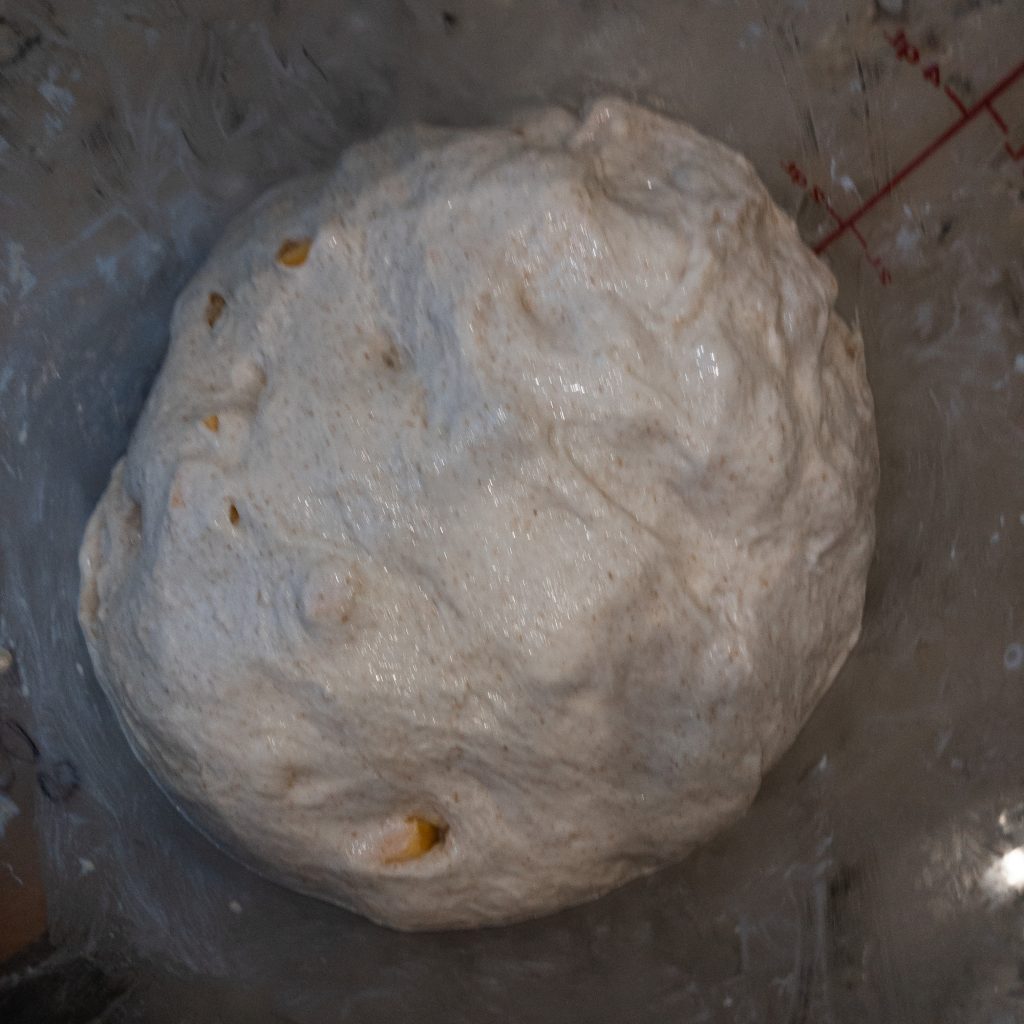
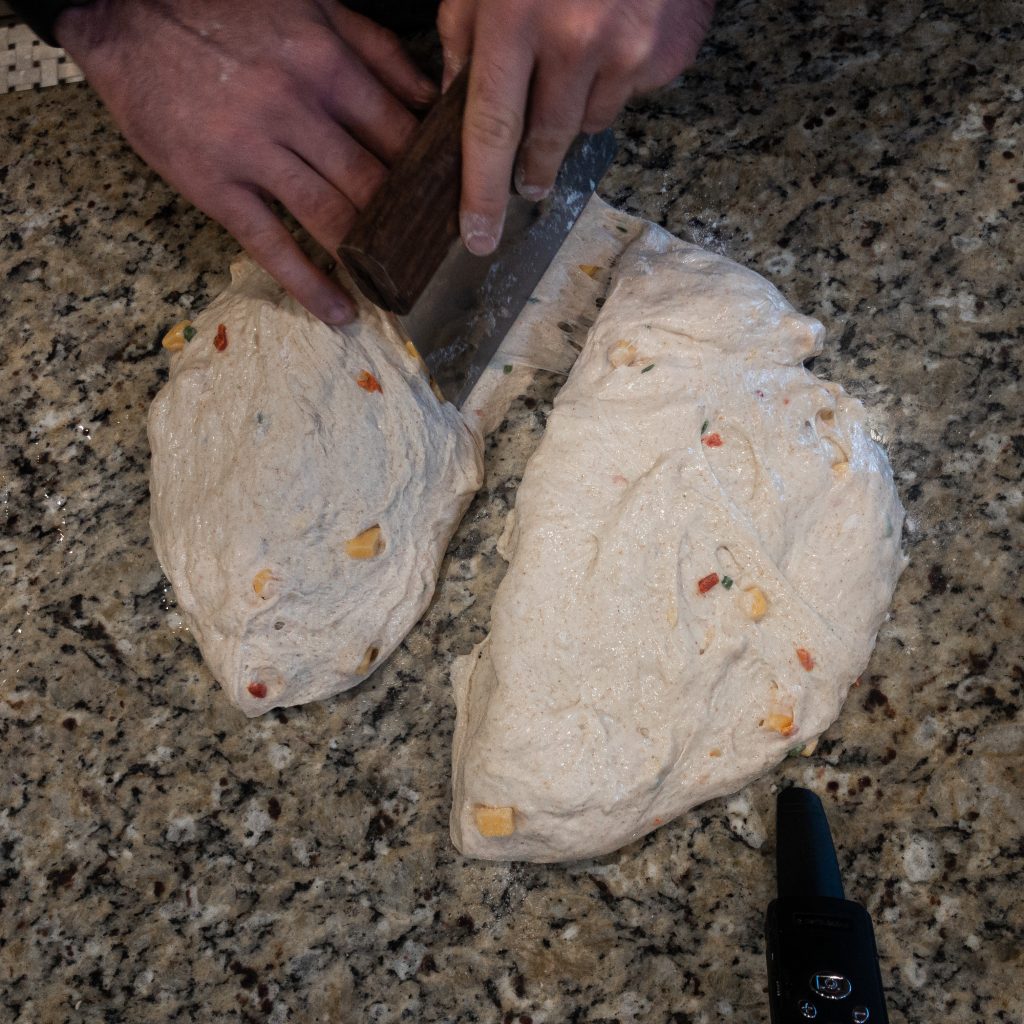
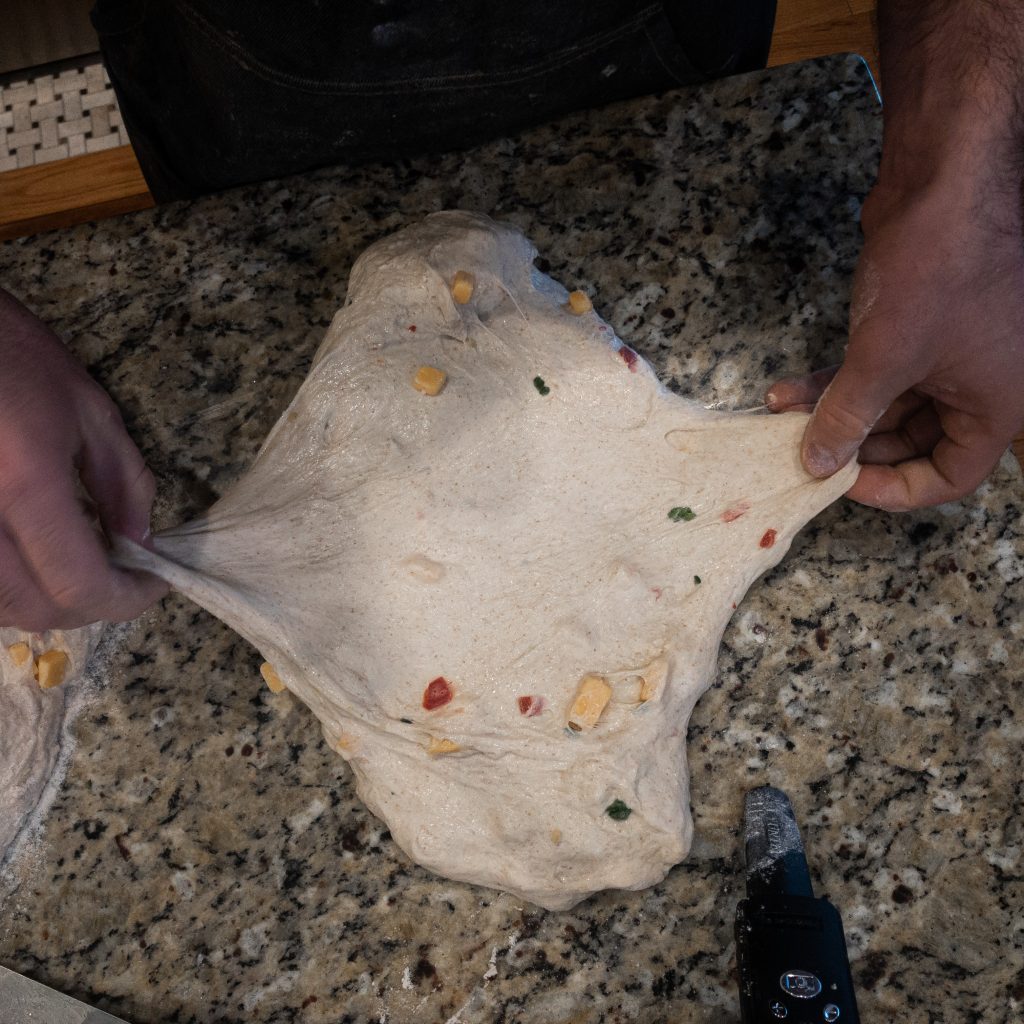
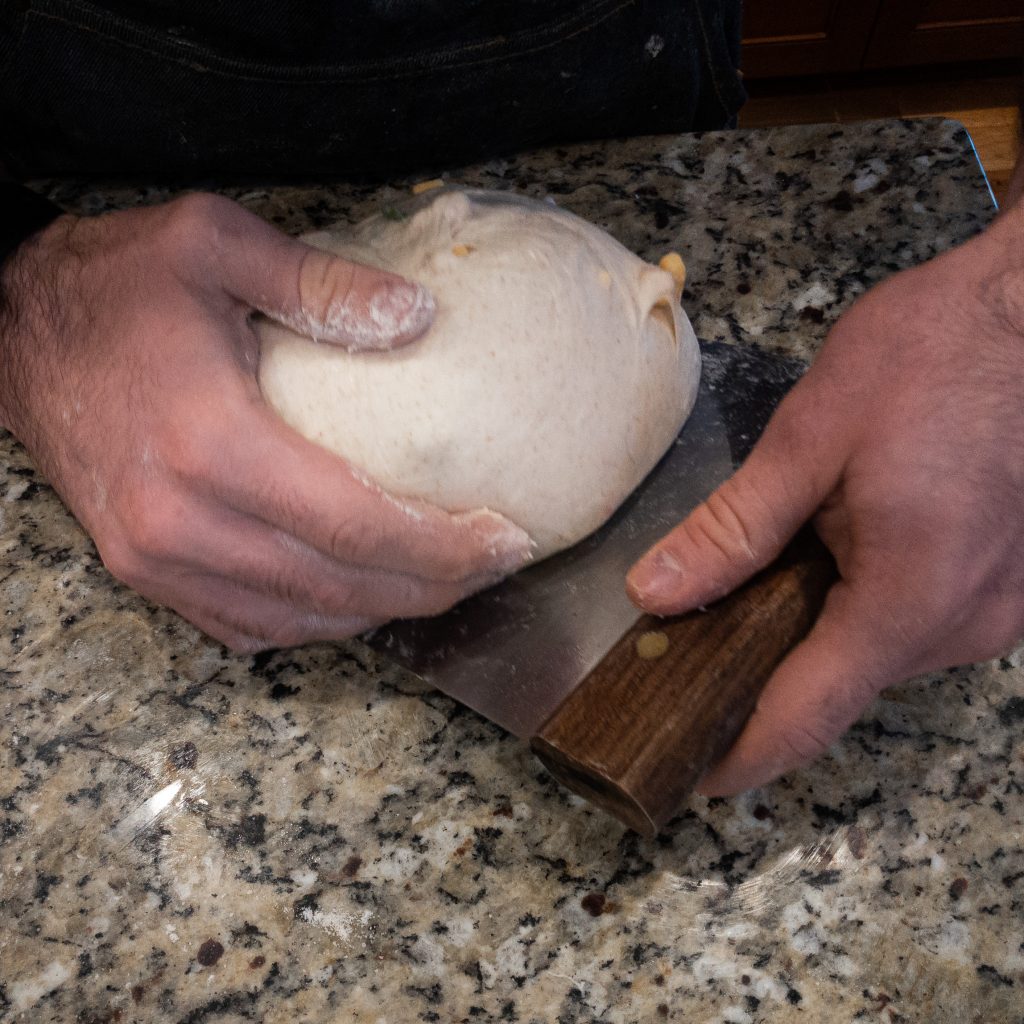
6. After the four hours is up, turn the dough out onto an unfloured surface. Sprinkle a little flour across the top of the dough where you’re going to divide it. Use a bench knife to divide the dough into two roughly equal pieces. Flip one piece over with the bench knife into a roughly circular shape. Stretch the left side out a bit, then fold it back over itself. Repeat with the right side, then top, then bottom. Using your hand or a bench knife, slowly drag the dough down while letting it anchor on the counter a little to form a smooth, taut surface. Here’s a video, again, because I’m not great at explaining. Repeat with the second piece. Cover them with a damp towel and let sit for 30 minutes. In the meantime, coat two proofing baskets (or large bowls lined with towels) with a 50/50 mixture of AP/brown rice flour.
7. After the 30 minute preshape, the loaves should have flattened out a bit, but still clearly have rounded edges and not be drippy. Repeat the shaping process and place them, seam side up, in the baskets/bowls. Now you’ve got two options. You can either let them sit, covered, in a warm place for another 3-4 hours. Or you can put them in large ziplock bags and put them in the fridge for 8-12 hours. The fridge option will give you more complex flavors.

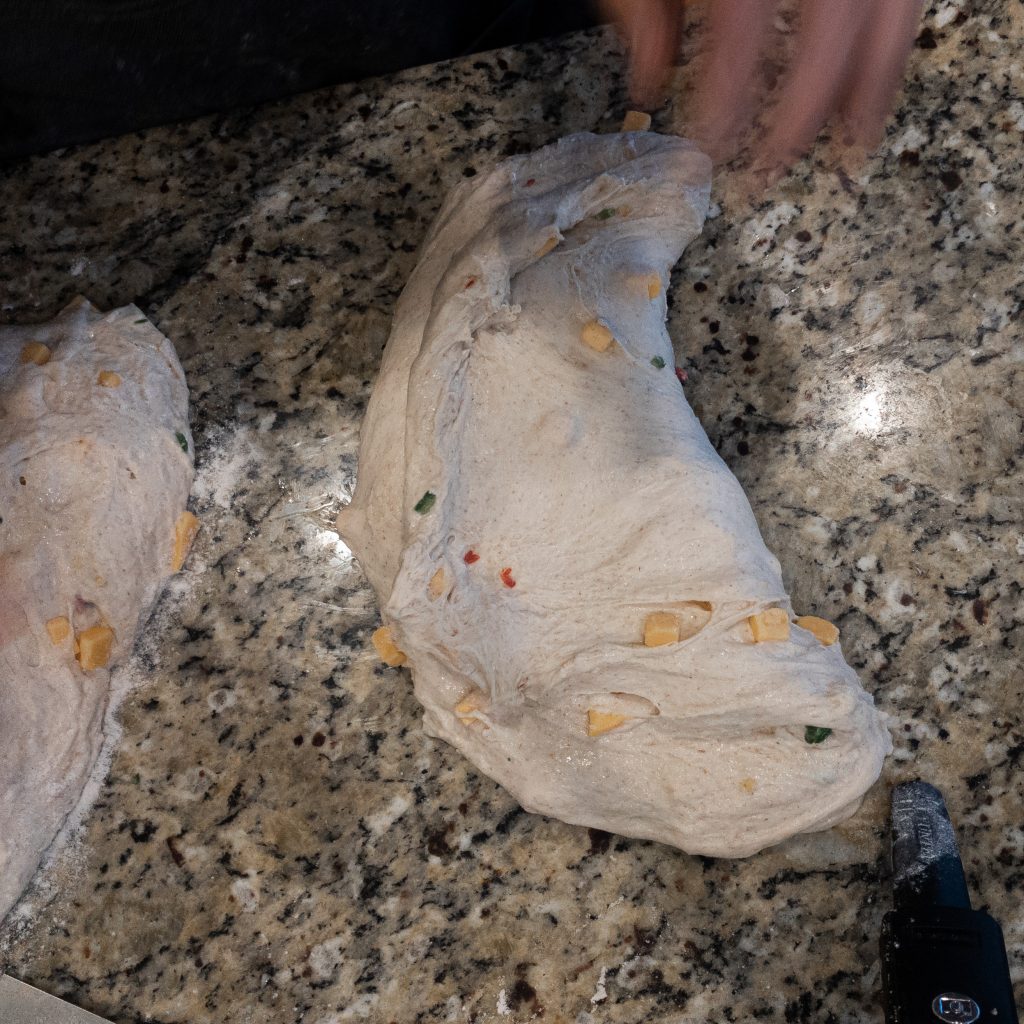
Preshaped 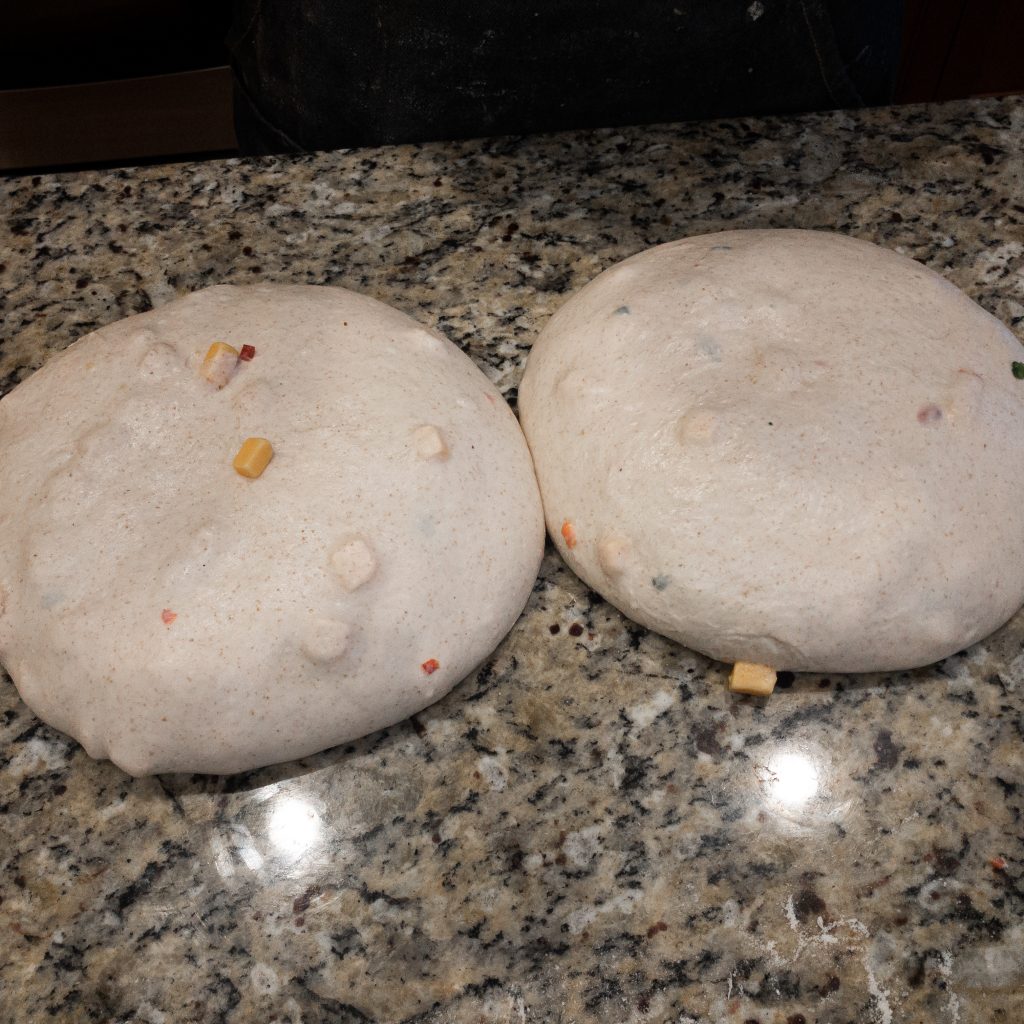
After 30 minute rest 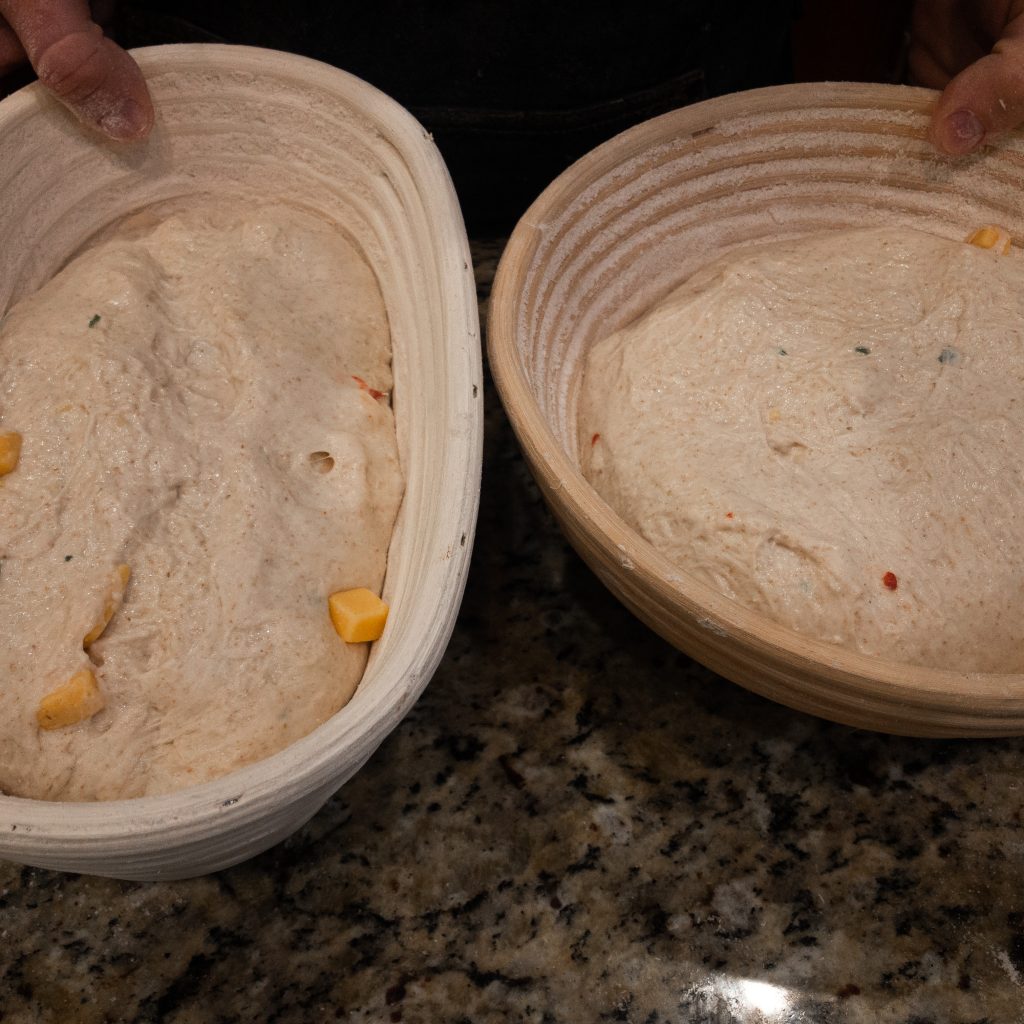
8. About half an hour before baking, put two cast iron or ceramic baking vessels with lids in the oven and preheat to 500°F. If you don’t have cast iron or ceramic, you can bake on a stone, or in a pinch, on a regular baking sheet. You just won’t get the same crackly crust as you would in cast iron or ceramic.
9. Place a piece of parchment paper across the top of one of the proofing baskets, then place a baking sheet over that. Flip the whole thing over and remove the basket. Use a razor blade or sharp knife to slice a deep score into the top of the loaf. Pick it up using the parchment paper and place it in one of the baking vessels and put the lid on. Repeat with the other loaf.
10. Bake 20 minutes covered, then lower the temperature to 450°F. Bake for another 20, then uncover. Give it another 10-15 minutes, until it’s a nice dark brown. Remove from the vessels using the parchment, at let cool for at least an hour before slicing.
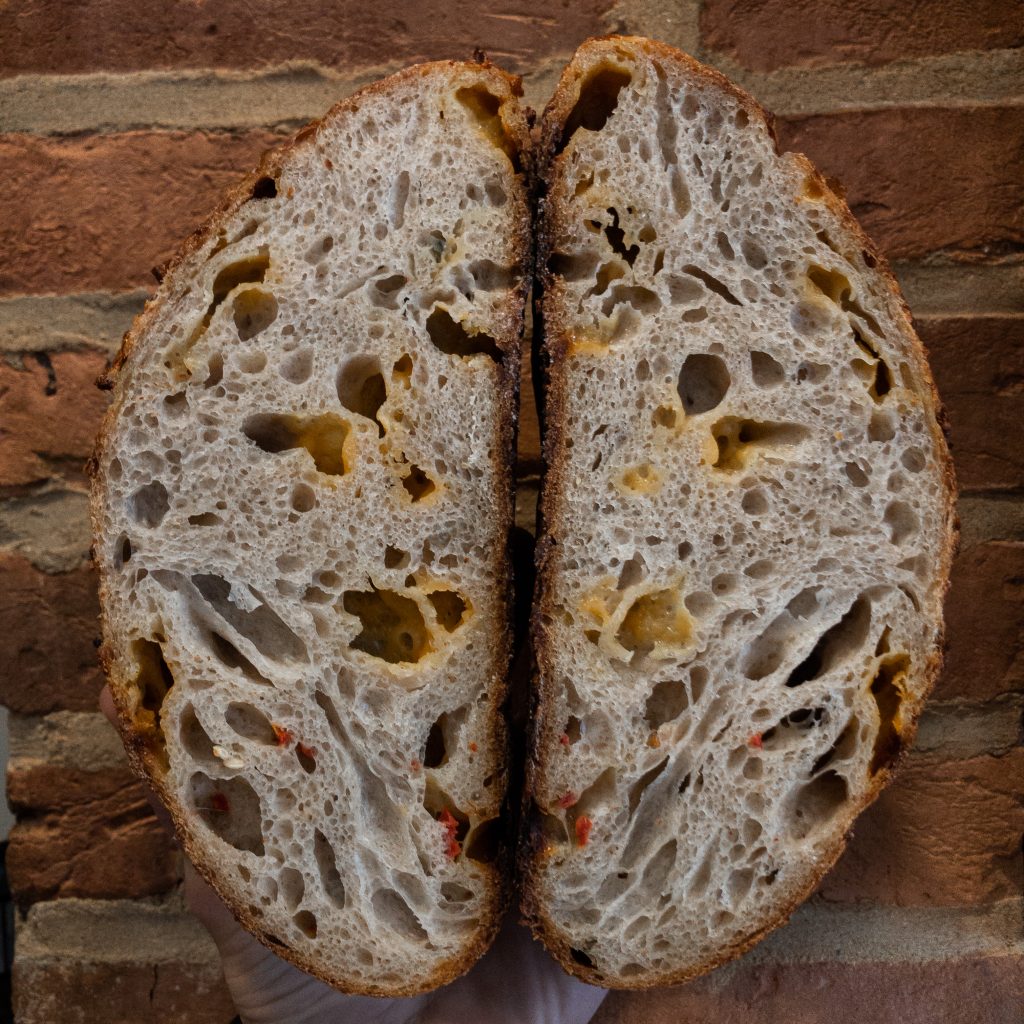
11. This bread will only get better with age, but it’s hard to beat fresh warm bread! Enjoy!